The explanation here is for PC where there is installed Linux, in particular UBUNTU (18.04.3 LTS).
Download STM32CubeIDE, unzip it, change the permission of the file:
st-stm32cubeide_1.1.0_4551_20191014_1140_amd64.deb_bundle.sh
In the terminal do the commands below:
sudo su
chmod +x st-stm32cubeide_1.1.0_4551_20191014_1140_amd64.deb_bundle.sh
and next install it:
./st-stm32cubeide_1.1.0_4551_20191014_1140_amd64.deb_bundle.sh
For install the compiler for Linux do the commands below:
sudo su
apt update
apt install build-essential
After the above commands on your Linux there is the GCC compiler for your PC.
Now is possible use the STM32CubeIDE also for write a C code for your PC (Host).
For more info see here.
For know the version of the installed GCC use the command below:
gcc --version
You must see an answer like below:
gcc (Ubuntu 7.4.0-1ubuntu1~18.04.1) 7.4.0
Copyright (C) 2017 Free Software Foundation, Inc.
This is free software; see the source for copying conditions. There is NO
warranty; not even for MERCHANTABILITY or FITNESS FOR A PARTICULAR PURPOSE.
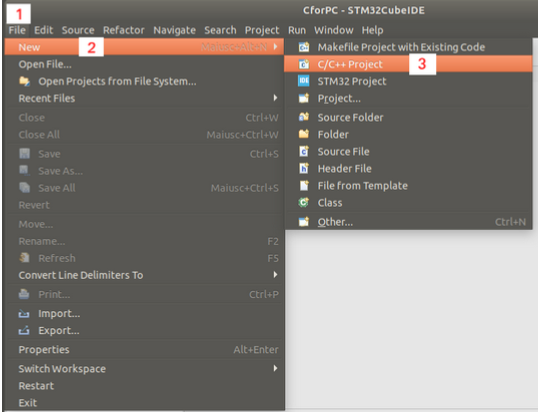
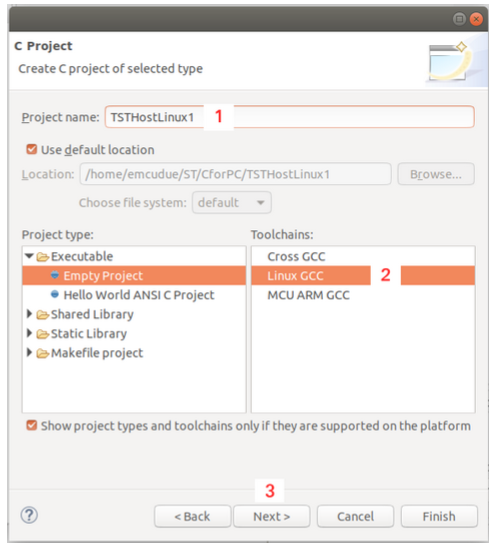
Now run STM32CubeIDE an select your working directory.
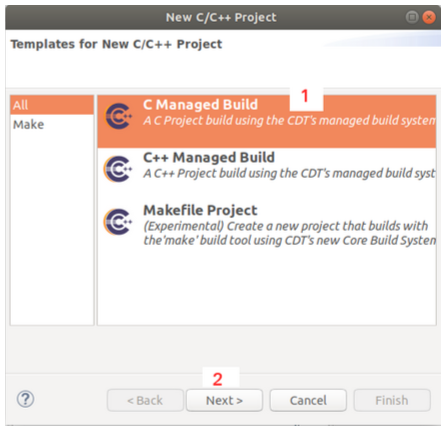
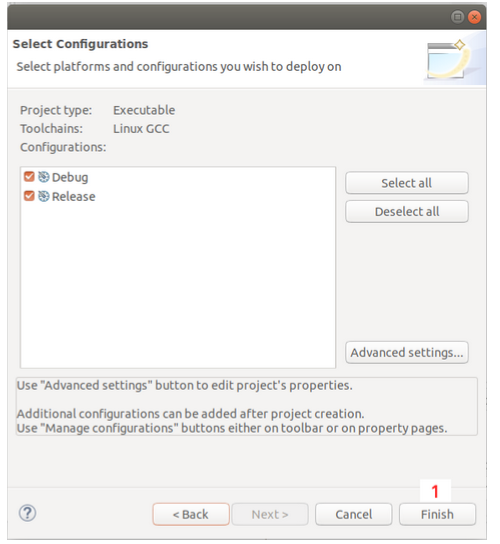
When STM32CubeIDE is open, do the steps shown below.
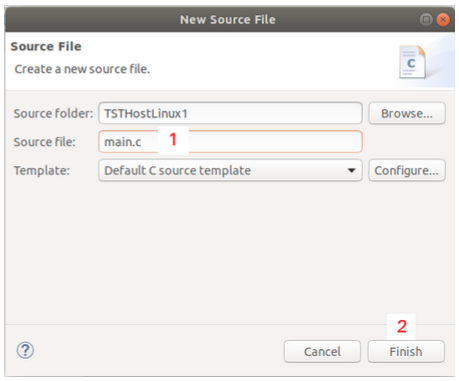
Now add the main.c file to your workspace, see below.

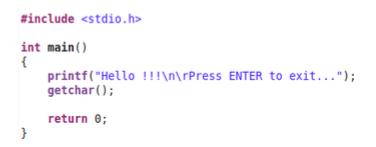
Now open the main.c and insert the below code.
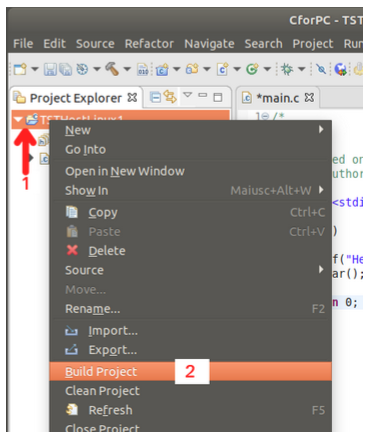
Compile the code, see below.
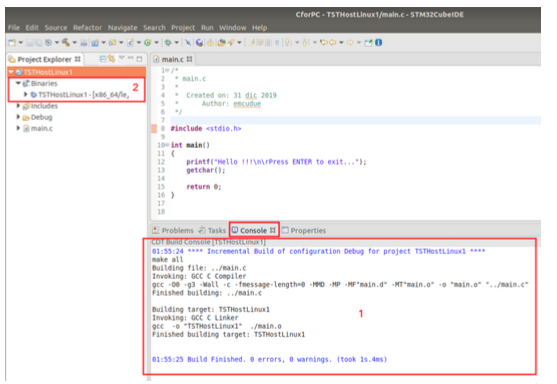
If all is correct you must see something like below.
The file:
TSTHostLinux1
is the executable Linux file.
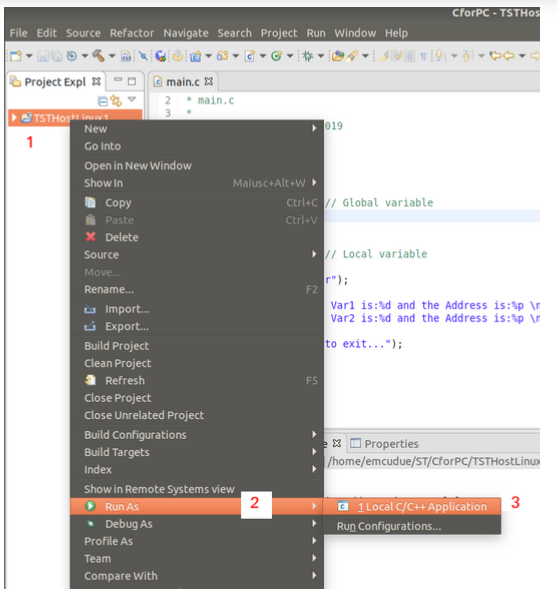
For run this file open a terminal go in your working directory under DEBUG folder and run it:
./TSTHostLinux1
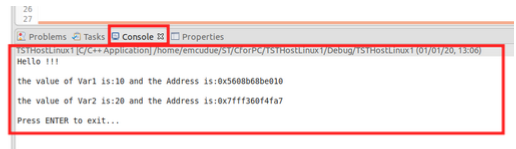
and you must see something like below.

This is useful for practice in C syntax without the necessity to use MCU or online C compiler like this.
Of course, you must see the results of your SW also directly inside the STM32CubeMX, see how to do in the below images.
The above results are for this example.
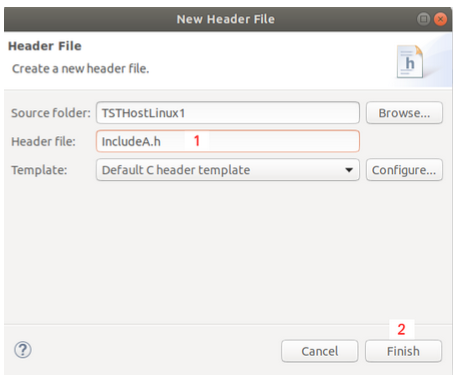
For insert a .h file in your project do the sequence shown below.